Artist Help:Effects Dimmer
First, load the EXAMPLE3.WSP workspace supplied with Artist. The first fixture group (Just 8 Par cans) is 8 x par cans. Display this group in the Fixture view. If you have Wysiwyg you can also use the 'EXAMPLE.WYG' plot to view the effects.
Try the example Cues[edit]
Open the Operator window and select 'Parcan cues' (Cue list 1) which contains cues pertaining to the par cans. The first three cues (Cue 1, Cue 2 and Cue 3) are simple static levels. Try each in turn and watch the active Fixture View to see their effect.
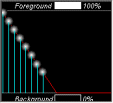
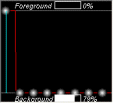
The fourth cue (Strobe) uses an 'Envelope' effect to create a chase with a blank between each step giving it a strobing appearance.
Cues 5 and 6 are 'Chase' effects and are not defined in the Effects window.
Cue 7 (Wash) also uses an 'Envelope' effect to give a continuous waving effect.
Try the Macros[edit]
Deactivate any running cues and open the Effect tab in the Fixture Control window. Now you can try the effects yourself.
- Activate the 'Dimmer' parameter from the Parameter List.
- Select the Macros tab
- Now try each of the Linear Macros in turn while watching the results in the Fixture View.
Each of these macros is specifically designed for fixtures arranged in one dimension.
Making Changes[edit]
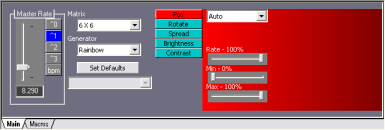
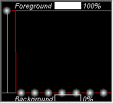
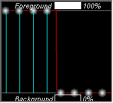
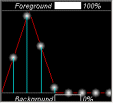
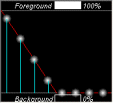
For these macros you have just tried simply setting the Effect properties in the Properties tab to some predefined values. You can, of course, alter these to your requirements. Select the 'Chase' macro in the Linear column and click on the Properties tab.
Slow the 'Master Rate' down to see exactly what the effect now is.
Play with the properties for a while to reveal the power of the Envelope generator effect.
